

Wait. Hold up. Huh? A helmet? Explain Kacie.
Jake has torticollis and positional plagiocephaly. In language we all understand, that means he has a stiff neck muscle (torticollis) and because it was so stiff he had trouble turning his head to his left side. Since he wasn't moving his head around, he developed a flat spot (the plagiocephaly part) on the back side of his head where it was constantly resting against whatever he was sitting in. (Swing, bouncer, crib, car seat, whatever...) So for a few months he has to wear a helmet to fix the flat spot. His torticollis has resolved with a bunch of physical therapy stretches, thankfully, so now the "silly hat" as we like to call it can get on with doing its job.
Only...A plain white helmet is no fun! So we decided to give it a bit of spunk and personality, just like our little Jakers. Since I never found a tutorial on how to do this (trust me, I looked) I thought I'd share how I did it.

 I used a combination of clip art from the web, and Microsoft Word to create a series of images and text that would be turned into stickers. There was no real good way to do this, and the process changed a little depending on what I was trying to achieve for each sticker. I will say, I took my time with it, and all told it took several hours. Of course, if you had some version of Photo Shop, I'm sure the process would go much more quickly and easily. I don't have that, nor am I willing to pay for it, so...yeah. Essentially, I laid everything out the way I wanted it to appear in Microsoft word by combining my images and text on a drawing canvas (or a text box) and played around with the "bring it forward, send to back" junk until it looked right. I'd take a screen shot of the computer and paste that into Microsoft Paint. From Paint, I could crop the item I was working on and save it to become one single image. Then I'd load it back into MS Word and resize the image to the dimensions I wanted and make the background transparent. (Think small if you want a lot! My images are roughly 1 to 1.5 inches and we have about a dozen stickers on the entire helmet.) By loading it back into Word, I could place all my images on a single sheet for convenient printing. This also allowed me to resize them as needed if they didn't fit the spots on the helmet nicely. (We didn't have the helmet at the time, so I had no idea how much room I would have available.) By making the background of each image transparent, the helmet color would serve as the background. I felt this would lend toward a more natural blending, almost like the images were printed directly on the helmet. The only exceptions are a couple of colored stickers, like the one in the image above on the right. As it turned out, sticker design was the easy part...
The first time I printed my stickers (Yes. First. In all, this took 3 tries.) I used Printable Sticker Paper made by Silhouette. I set my printer for overhead transparencies since this was the most appropriate setting my inkjet printer offers and clicked the print button. These printed BEAUTIFULLY! I was so excited! The images were sharp and the truly clear background was just what wanted. And then I tried to put them on the helmet. The problem is that these sheets are some sort of plastic-y/vinyl combo, so when I cut my images out and went to apply them, the material wasn't flexible enough. The odd, multi-directional curves of the helmet were just too much, and no amount of stretch and manipulation would make the stickers lay flat against the helmet. Back to the drawing board...

The next product I tried was a Clear Full Sheet Label by Avery (#18665). When I went to print I was a little confused because the label itself looks almost white. I had to peel the backing off a section to convince myself it actually wasn't. This is because Avery's version of "clear" is like a frosted window. It is not truly transparent. But we printed anyway! And it worked! I set out cutting my images and placing them on the helmet. The label paper is thin enough that you can manipulate the curves and get it to lay flat or close to it. There were a few stickers that had some wrinkles along a curve, but nothing bad enough that I had to scrap the sticker. The major problem I had was that the ink wanted to smear off while I was applying the stickers. (I let them dry overnight trying to avoid this.) I got around this by setting the sticker gently on the helmet and placing a paper towel over the top before applying pressure to adhere the sticker. If I got a weird wrinkle, the adhesive on the back of the label is forgiving enough that I could peel it right back off and make adjustments to its placement. I got all my stickers on, went out to take all the above photos, and Jake started wearing it as soon as his nap was over.
Then, "baby" happened. Jake is hard core teething right now, so his hands are always in his mouth getting nicely coated with drool. And since he was still adjusting to the helmet, he was also constantly grabbing at it and trying to figure out how to itch his sweaty little head. Drool plus sticker equals printer ink EVERYWHERE! In just a couple hours the ink was completely gone from at least 3 stickers and there were black streaks all over the plastic exterior. Don't worry though...rubbing alcohol (the same stuff you have to have on hand to clean the inside of the helmet) takes the ink right off the plastic. So I pulled the stickers off and "washed" the plastic back to a clean white start. We still have a bit of ink on the velcro strap that holds the helmet closed, but it isn't too bad. It was bound to get grungy anyway so I wasn't heart broken that I couldn't get the ink out.
After the ink fiasco, I needed to find a way to seal the stickers. Now remember when I said I had looked for tutorials? The only thing I could find were tips on how to apply pre-made vinyl decals. A site called Bling Your Band suggested using Mod Podge to seal the edges of their decals to prevent them from peeling off. It was something I was willing to try with my own stickers, but past experience with that product has taught me Mod Podge itself will smear anything printed on an ink jet printer. If it doesn't smear, it will cause the ink to bleed a little, meaning my nice crisp designs would turn into a fuzzy blob under the Mod Podge. Enter the sealer before the sealer...

I printed my designs for the third time. I let them dry on the label paper overnight. Then I sprayed the stickers with 3 coats of Krylon Matte Finish, which is a spray-on acrylic sealer. It only takes a couple minutes to dry to the touch and about 2 hours to dry completely. I did some chores around the house and then came back to cut out my stickers. As I started to put the stickers on the helmet, I already knew this was working out better. The ink wasn't coming off on my fingers as I applied pressure to the stickers. No more paper towel needed. The Bling site also showed the decals being applied with a squeegee to help eliminate bubbles and wrinkles. I didn't have a squeegee, but I did have a plastic scraper for my Pampered Chef baking stone. I used the edge of that to help smooth out my stickers even further and it worked great. I have a couple of stickers where I dug in with the scraper a little too much because I was really trying to even them out along a curve. It took a little of the ink off because I went right through the acrylic layer. So if you do decide to use another tool, just be careful with how much pressure you apply to a "sharp" edge.
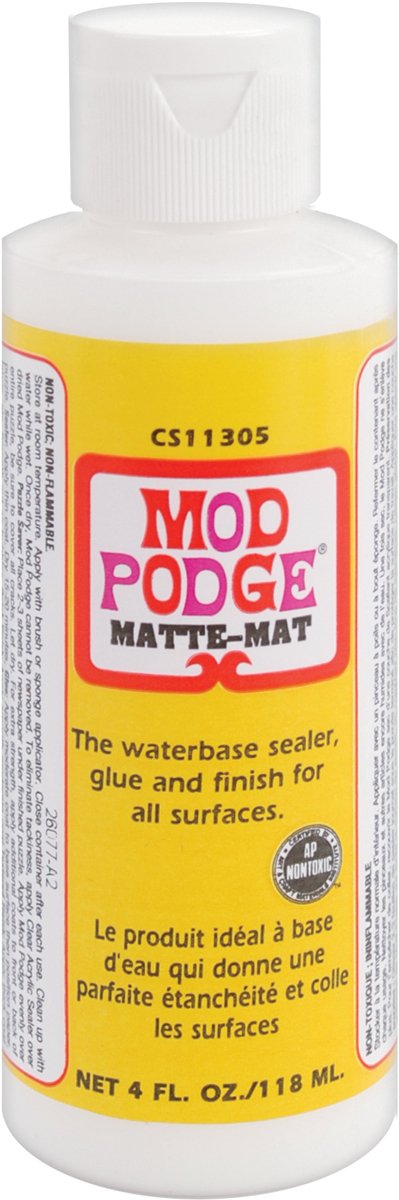
Once the stickers were all on the helmet, I used a 1" foam brush to apply Mod Podge with a matte finish.
 Just follow the directions on the bottle. The small size is more than plenty. I used 3 coats and felt that was enough. (And by that time, it was close to 2 in the morning...) I let it dry the rest of the night and Jake wore his helmet the next morning. The finish has held up well, and NO INK SMEARS!! It's been roughly 2 weeks since I put the stickers on and the Mod Podge doesn't even look scratched. If I do need it, we have plenty leftover after the original application to add some layers.
A few more notes about the stickers:
- The label paper I used, as stated before, has a frosted background. When applied to my white helmet, it blends in and you can't see it at all. I do not know if this will be true if you have a colored helmet. The edges of your stickers might show more. However, the borders will be more noticeable anyway after you apply the Mod Podge, so this could be a moot point.
- Even if the shape of the sticker lends itself better to being cut in a circle, I found square stickers were easier to apply and get to lay flat. If there were going to be wrinkles, the square stickers wanted to do it in fewer directions when applied to a curve.
- Finally, there were some comments on the Bling site that state rubbing alcohol will remove the Mod Podge if you wanted to swap out your stickers. I plan to keep the same ones, but just in case, I've been careful when cleaning the helmet to make sure I don't over-spray the exterior. The comments say the alcohol will cause the finish to bubble and then you can peel it off in sheets before reaching the sticker itself.
No comments:
Post a Comment